Here's and oldie, but a goodie!
This is a project that I had done a while ago. Enjoy!
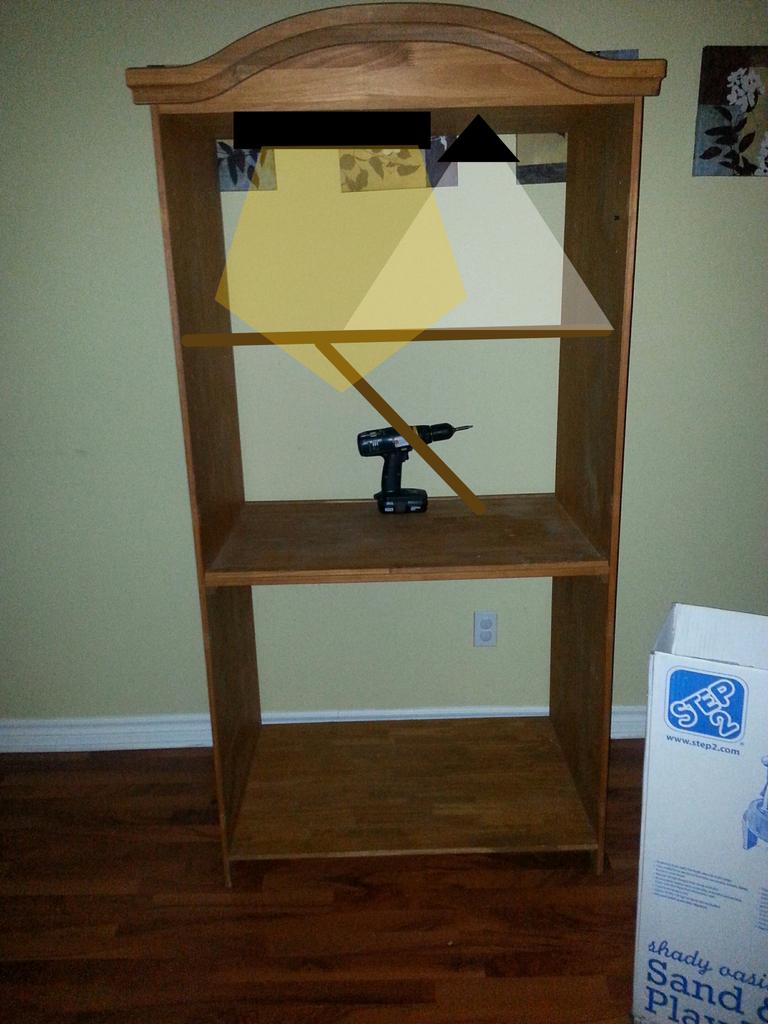
 Before
It started with an armoire, destined for the landfill. It seemed to have run its course. An obsolete cabinet, designed for an obsolete style of television. Game over, you big, ugly waste of space..
But wait.. Recycle!
 After drawing out some horrible plans, I immediately gave up on planning. The only way I would get this done, is by recklessly diving in. No guides, or foolish diagrams to hold me back. It's DIY anarchy!
Then my wife stepped in and told me what color to use.. Which started me off in a specific direction. So, it's off to the hardware store! And then Walmart.. Then back to the hardware store!
This is mostly a Home Depot project. Although, I did end up getting the light fixture and Mod Podge from Walmart. But, only by chance. Had I found a sealer and cheap light at Home Depot, I would have shopped there exclusively, for this project.
That being said.. I have since found a better, cheaper solution to Mod Podge. Stocked at Home

Materials used:
Free, donated, or already owned.
Shitty armoire
Stone basking tile
Dome basking light
Dragon
Shitty armoire
Stone basking tile
Dome basking light
Dragon
Purchased for project
Stone flooring - $ Home Depot
Paint - $27 Home Depot
2 paint brushes - $2 each
Mod Podge - $30 Walmart
Plexiglas - $32 Home Depot
Sliding track - $3 Home Depot
Light fixture - $20 Walmart
2x2 lumber - $2 / 8 feet Home Depot
Stone flooring - $ Home Depot
Paint - $27 Home Depot
2 paint brushes - $2 each
Mod Podge - $30 Walmart
Plexiglas - $32 Home Depot
Sliding track - $3 Home Depot
Light fixture - $20 Walmart
2x2 lumber - $2 / 8 feet Home Depot
Tools used
Measuring tape
Drill and driver bits
Ryobi one+ drill
Ryobi one+ fan
Ryobi one+ circular saw
Ryobi one+ spotlight (painting at night)
Ryobi one+ shop vac
Yeah, I have a thing for Ryobi tools..
Measuring tape
Drill and driver bits
Ryobi one+ drill
Ryobi one+ fan
Ryobi one+ circular saw
Ryobi one+ spotlight (painting at night)
Ryobi one+ shop vac
Yeah, I have a thing for Ryobi tools..
Step one, was to rip the bastard apart and set everything aside. Most of the painting was done inside, because of the armoire's weight. And thankfully, this acrylic paint didn't give off any weird fumes or toxins. It wasn't ideal, but it worked.
 Although the paint dried surprisingly fast, I still gave it a day, before applying the Mod Podge. This stuff is messy, expensive, and smells like a kindergarten class, during craft time. I really wish I had known about the Minwax sealer, prior to this step.. But, that's just bad luck, I guess.
I used a tub and a half of the horrible Mod Podge, which worked out to about 3 coats. 4 along the sides, where I felt the dragon may regularly brush against. Each coat was left for an hour or two, drying with the aid of a couple fans.
Once the miserable process of sealing was finally out of the way, it was time to mount the lights! The strip light was a cinch. I simply screwed it at the back of the top shelf, dead center. Nothing fancy, here. But the dome light isn't made for this kind of enclosure.
 There was a lot of silly attempts, to hang the light, without drilling a hole.. But, in the end, I used the little clamps, that come with these types of fixtures. Well, half of the clamp.. Instead of fixing the hardware to the actual clamp, I tightened it onto a long bolt. The bolt was tightly fit into a hole, drilled near the strip light. Then, for added "No fally" protection, I applied a nut, onto the end. That thing ain't goin' nowhere!.. Excuse my double negative..
Aside from painting the doors, I didn't do anything to them.. Just screwed them back in place.. Originally, I was going to cut windows into the door. But, instead, i left them solid. That way, if I want to hide the dragon, from prying eyes.. I can easily close him off, from the world.
Which leads us to the sliding door!
I had some idea of how I was going to do this. But, not really. I knew that I was going to have two sliding Plexiglas doors.. The rest was a little bit of walking around Home Depot, looking for anything useful.
 Eventually I spotted these plastic things, bending high above me. I still have absolutely no idea, what they are.. But they only cost $3, for a strip, measuring 8 feet. It's solid enough to hold the doors, and easy to work with. I used a hand saw, however. I felt that the circular saw may produce some level of shrapnel danger.
The bottom track is held to the main flooring, of the unit, with Mod Podge. It's staying there, pretty solid, for now. Though, it may need added support at some time, in the future. The top of the sliding doors is a a length of 2x2, cut to fit the armoire. Once painted and sealed, I used a few nails to hold the track in place.
The 2x2 itself, is held in place by a couple of thick screws. I drilled the holes first, using slightly larger drill bits on the armoire. This leaves the board sturdy, in place, yet it can still be twisted in place. This is important, because not only are my doors a bit big. But, at some point, I'll definitely want to remove them, for cleaning. This technique makes it much easier than taking the whole thing apart.


No comments:
Post a Comment